Restoration of a 1918 Harley Davidson Bicycle – Part 2: Paint
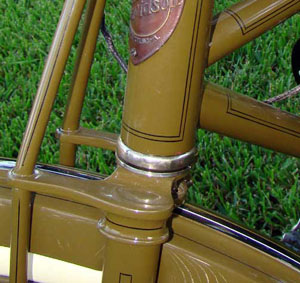
Harley Davidson paint detail
Haven’t read part one yet? Check it out first!
One of the biggest jobs of this restoration is the paint. The paint job on an antique Harley Davidson bicycle may look pretty simple from a distance, but up close you’ll notice that it has three different colored pinstripes, a secondary colored panel on the frame and fenders, and a decal on the down-tube that isn’t available in the aftermarket (so it needs to be painted on).
A paint job is only as good as what is underneath it, so I started by media-blasting all of the parts. This gives me a good solid, rust-free surface to work from. Fortunately, the fenders on this bike were already in very good condition, especially considering their age. Some minor dings needed to be straightened out and the frame needed to be aligned. I also had to weld up a crack in the one of the upper rear seat-stays. The fork is in good condition and is actually NOS (New Old Stock) and has never been used, so it didn’t require any major work. Due to low-quality manufacturing standards at the time, I added some body-filler to the sides of the fork legs to give them a nicer finished appearance
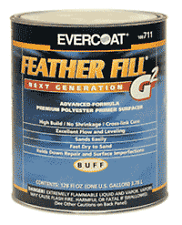
Evercoat Feather Fill G2 primer
than what they would have had otherwise. High build polyester primer was applied over everything. I used Evercoat Feather Fill G2 for this stage of the process. This type of primer is great for filling in minor pits, scratches and other imperfections in the metal. With a bike this old, you can bet the metal has plenty of that! I shot the polyester primer with an inexpensive spray gun that has a huge 2.5mm tip, which means its easy to quickly deposit a thick layer onto the surface. I wanted it to be thick, because the purpose of this process is to sand most of it back off, leveling the surface and filling in those pits and scratches. Polyester primer is basically a form of sprayable body filler (aka, Bondo). Sanding this high-build primer is a time consuming process and where a lot of attention to detail needs to be spent. Rushing this part of the process will result in a poor quality finish at the end. If a part is extremely pitted and requires a heavier than normal application of the polyester primer, I’ll sand with rigid foam sanding block and 320 grit sandpaper for better and quicker leveling of the surface. Otherwise 400 grit is what I prefer to use and is what the entire surface needs to be finished with before moving to the next step. Once all the parts were sanded, I washed everything with water, then wiped down with PPG DX330 Acryli-clean wax and grease remover to remove any contaminants.
PPG DPLF epoxy primer
At this stage, everything should be straight, smooth and free of flaws. I hung it all in the paint booth, then sprayed on a single coat of PPG DPLF epoxy primer, mixed as a sealer. I used my Sharpe Finex spray gun for this. I like to have dedicated guns for the various stages of the process, mainly because the tip-size is different for each. This seals in the polyester primer and fills in the 400 grit sandpaper scratch, and promotes good adhesion for the final coat of material, which is the paint itself. The epoxy primer has a “re-coat window”, meaning that you have to spray the topcoat over it within a certain amount of time, otherwise you risk poor adhesion of the topcoat. So don’t think you’ll get away with spraying your epoxy, then a few weeks later spray on your color… you’ll have to re-sand the whole thing and that’s a lot of extra work! I usually shoot the color topcoat a few hours later or the following day. In the case of this project, I shot the color on the following day.
The paint I chose is PPG Concept Acrylic Urethane. It is PPG’s highest quality single-stage paint. By single-stage, I mean it does not require a clear topcoat. It’s a glossy and durable finish that sprays very nicely and covers in just one coat. Cheaper paints require several coats before they cover up the color of the primer, because the pigments in the paint are not as strong. This paint is pretty expensive though at
PPG Concept Acrylic Urethane
$100 for a quart, not counting the catalyst or reducer! But, as the old saying goes… you get what you pay for. I shot three coats on the bike using my Sata mini-jet “touch up” gun. It’s a German made gun and is one of the best that you can buy. Again, you get what you pay for. The paint on the bike came out great! I couldn’t be happier! The next step is to color-sand key areas of the frame, fork and fenders, then buff to a high gloss. Color-sanding is the process of sanding the paint with a very fine grit sandpaper (usually 1500 grit or higher) to remove any texturing that is created by the spraying process. You sand it while using water as a lubricant to wash away and particles that could create fine scratches. Following the color-sanding process with a few different grits of polishing compound will result in a mirror like finish that is much nicer than what the factory would have ever done, but one that is worthy of a bike such as this.
Next, see part 3 of this series! I’ll do the nickel plating on some small parts with a Caswell Plating kit.
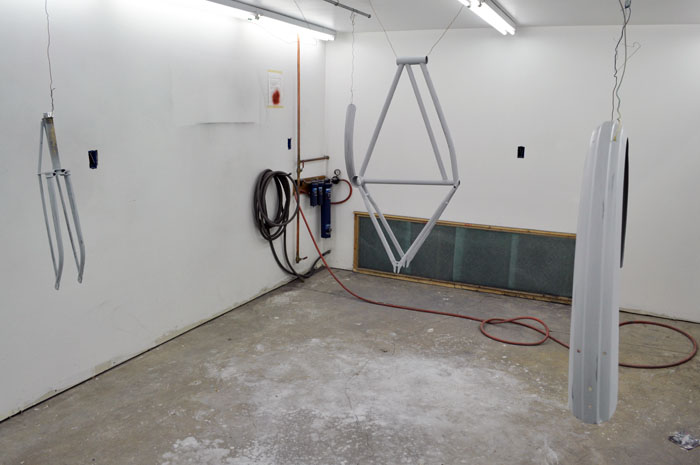
Parts hanging in the paint booth awaiting final prime and paint
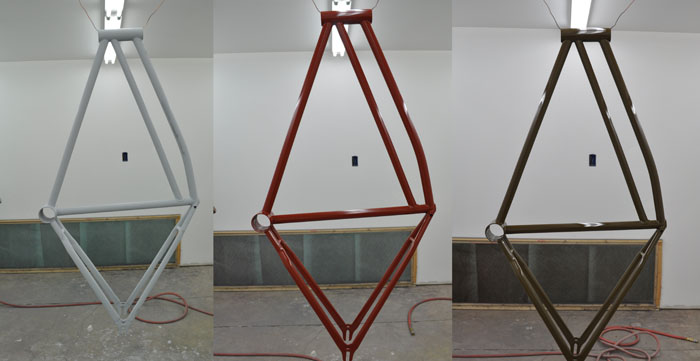
Three stages. Polyester primer on the left, epoxy sealer in the middle, and Acrylic Urethane paint on the right
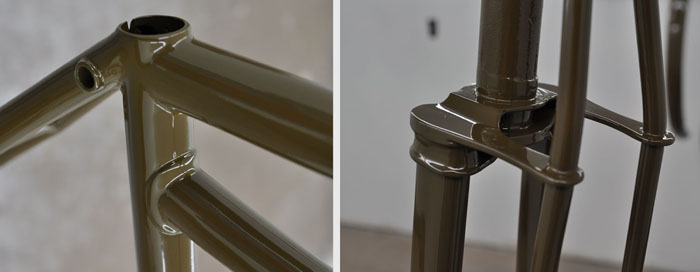
Fresh paint detail
